Overview
GeoPacks can be used several different ways:A GeoPack can be attached to a field in your view. This means that a level in the pack corresponds directly to a field in your database, and when building reports you wish to incorporate the pack data (geometry and demographic metrics) into your reports along side your own categories and metrics. | |
A GeoPack can be attached to a field in your CSV. This is the same as the above option, but you are attaching to a CSV field during the Report Import process, rather than a standard View Field. This means that a level in the pack corresponds directly to a field in your database, and when building reports you wish to incorporate the pack data (geometry and demographic metrics) into your reports along side your own categories and metrics. | |
A GeoPack can be used as standalone data. This means that when building a map based on your Views, you can add layers based solely on GeoPack data, without having to link the pack to your data directly. As both maps use geometry for their placement, the GeoPack Map Layer will just be laid over the top of your own data, allowing for comparisons. |
Attach to View
A GeoPack can be attached to a field in your view. This means that a level in the pack corresponds directly to a field in your database, and when building reports you wish to incorporate the pack data (geometry and demographic metrics) into your reports along side your own categories and metrics.The following steps will walk you through linking data in your view to a loaded GeoPack:
1. Through the Dashboard, select the menu icon on the View you wish to attach the GeoPack to and choose to edit it.

2. Press the Ok button on the dialogue box to proceed.
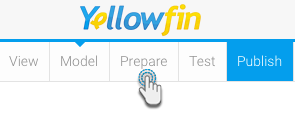
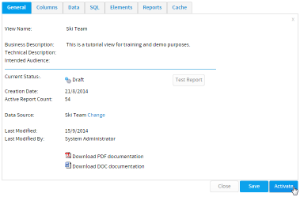
3. When at the view details page, click on the Prepare button
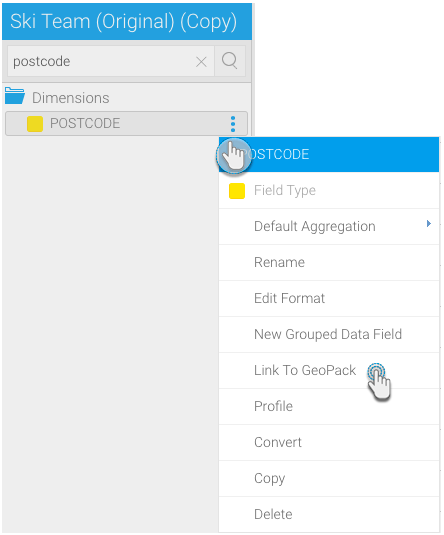
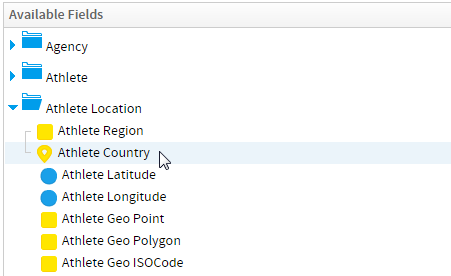
4. Here you need to locate the field that will link up to, and become the placeholder for, the GeoPack
You can do this by clicking on the field's menu in the table mode or by searching for it through the left side search and clicking on its menu there(as shown in the screenshot)
5. Then select the Link to GeoPack option
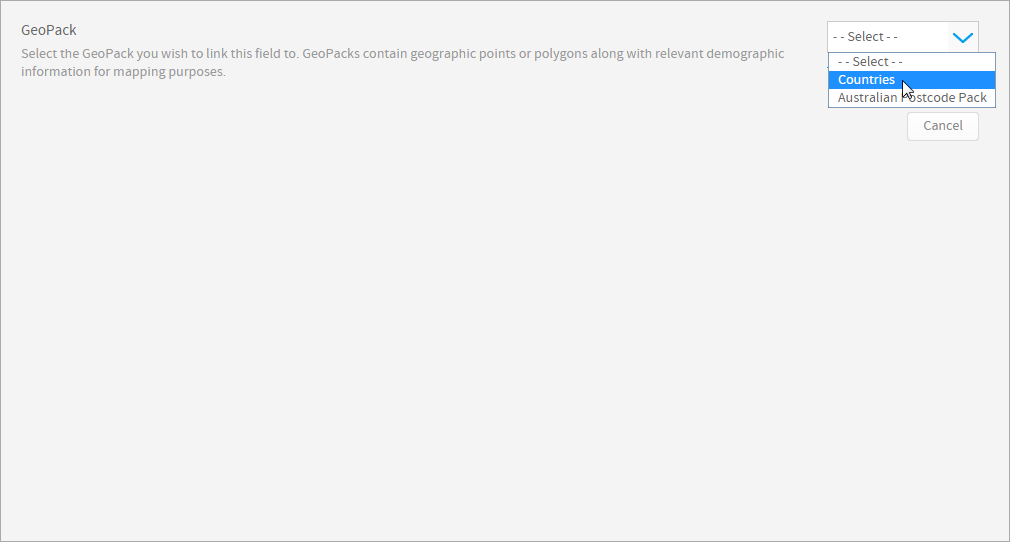
6. Select the GeoPack you wish to link on. If you haven't imported the pack into the system yet, you can select the Not here? option and upload through the current screen.
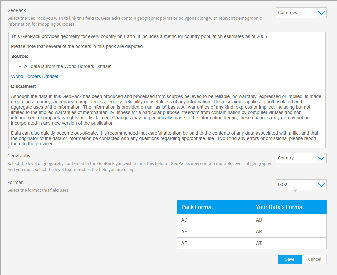
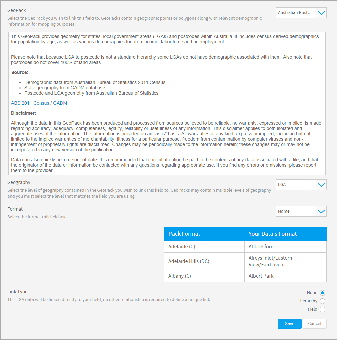
7. Once selected, you will be shown information including the contents and origins of the pack. From here, you will need to select the level of geography you wish to link your field to. Some packs may have one level, some may have several, be sure to select the geography that exactly matches the data in your field.
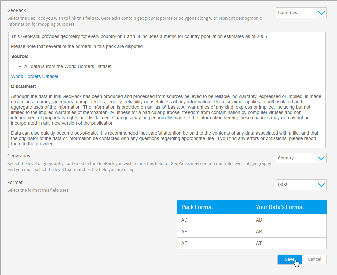
8. Once selected, you will be shown a preview table with the selected geography, compared to the contents of your field. If the pack contains multiple aliases for the selected geography, you may have to select the appropriate alias format to match your data.
For example, if using Country field, your data may be stored as an ISO Code, in which case, you will need to make sure you select that format from the pack, rather than Country Name.
Note: when selecting the format, don't worry if the data in the two columns of the preview table do not match exactly, as long as the format is the same. For example, if using an Australian Postcode field, ensure both columns have 4 digits.
If you have selected a level that isn't the top of the hierarchy, you may be prompted to specify the Link Type. There are three options available here:
- None: select this if the geography level in the pack contains unique pairings to that of your data.
- Hierarchy: select this if the geography level in the pack requires other levels to be defined in order to create a unique link AND you do not have fields in your view that match up to the other levels of the pack hiearchy. This effectively means that you will need to select which pieces of data in your pack the field data belongs to, and the rest of the pack will be ignored.
- Field: select this if the geography level in the pack requires other levels to be defined in order to create a unique link. For example, you may have two cities in a pack with the same name, so in order to differentiate them you will also need to link on the country name. This will mean you also need to link up the parent level with a matching field in your view.
9. Click Save to complete the link.
10. Save your field. You will now notice that the field icon is a pin, rather than a dimension or metric icon.
11. Activate your view.
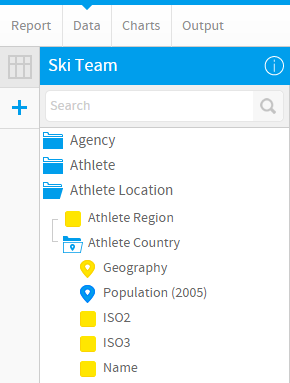
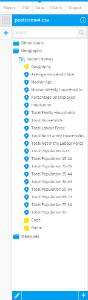
You are now able to use your linked pack data through the report builder. When adding fields on the Data step of the builder, your linked field will now be a folder containing all of the pack data, which can be added to your report the same way other fields can.
Attach to CSV
A GeoPack can be attached to a field in your CSV. This is the same as the above option, but you are attaching to a CSV field during the Report Import process, rather than a standard View Field. This means that a level in the pack corresponds directly to a field in your database, and when building reports you wish to incorporate the pack data (geometry and demographic metrics) into your reports along side your own categories and metrics.The following steps will walk you through linking data in your CSV to a loaded GeoPack:
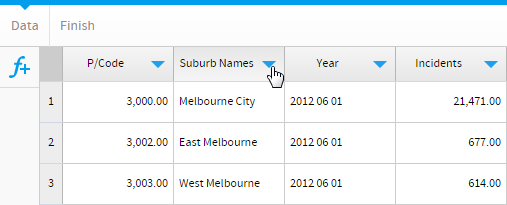
1. During the CSV Import process in the Report Builder, while on the Data step, click on the drop down arrow on the Column Title you want to link to your pack.
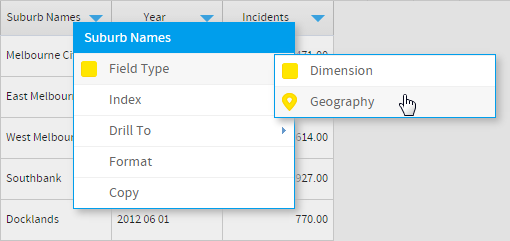
2. Select the Field Type option from the menu, and change to Geography
You will now see the GeoPack screen. Here you will need to define how your pack relates to your data.
3. Select the GeoPack you wish to link on. If you haven't imported the pack into the system yet, you can select the Not here? option and upload through the current screen.

4. Once selected, you will be shown information including the contents and origins of the pack. From here, you will need to select the level of geography you wish to link your field to. Some packs may have one level, some may have several, be sure to select the geography that exactly matches the data in your field.
5. Once selected, you will be shown a preview table with the selected geography, compared to the contents of your field. If the pack contains multiple aliases for the selected geography, you may have to select the appropriate alias format to match your data.
For example, if using Country field, your data may be stored as an ISO Code, in which case, you will need to make sure you select that format from the pack, rather than Country Name.
Note: when selecting the format, don't worry if the data in the two columns of the preview table do not match exactly, as long as the format is the same. For example, if using an Australian Postcode field, ensure both columns have 4 digits.

If you have selected a level that isn't the top of the hierarchy, you may be prompted to specify the Link Type. There are three options available here:
- None: select this if the geography level in the pack contains unique pairings to that of your data.
- Hierarchy: select this if the geography level in the pack requires other levels to be defined in order to create a unique link AND you do not have fields in your view that match up to the other levels of the pack hiearchy. This effectively means that you will need to select which pieces of data in your pack the field data belongs to, and the rest of the pack will be ignored.
- Field: select this if the geography level in the pack requires other levels to be defined in order to create a unique link. For example, you may have two cities in a pack with the same name, so in order to differentiate them you will also need to link on the country name. This will mean you also need to link up the parent level with a matching field in your view.
6. Click Save to complete the link.
7. You will now notice that the field icon is a pin, rather than a dimension or metric icon.
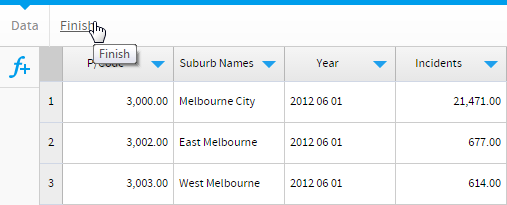
10. Finsih your CSV import.
You are now able to use your linked pack data through the report builder. When adding fields on the Data step of the builder, your linked field will now be a folder containing all of the pack data, which can be added to your report the same way other fields can.
Standalone Map Layer
A GeoPack can be used as standalone data. This means that when building a map based on your Views, you can add layers based solely on GeoPack data, without having to link the pack to your data directly. As both maps use geometry for their placement, the GeoPack Map Layer will just be laid over the top of your own data, allowing for comparisons.The following steps will walk you through creating a Map Layer without having to link a GeoPack in the View/CSV:
Once you've built your report and created a map layer using field from your View, you are able to add layer(s).
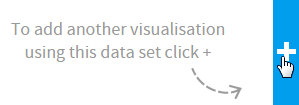
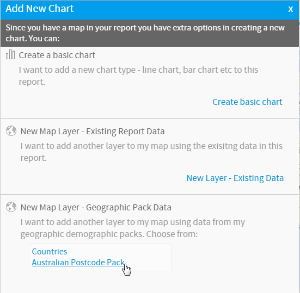
1. On the Charts step of the Report Builder, click on the + button to add a layer to your map.
2. In the New Map Layer - Geographic Pack Data, select the pack you wish to use to generate your layer. Remember that this method does not allow you to use your own fields in conjunction with the pack.
3. Use your pack fields to create a layer that can be displayed with your main map.
From here, continue building up your map and save your report as normal.